The SpinLight 360 Modifiers:
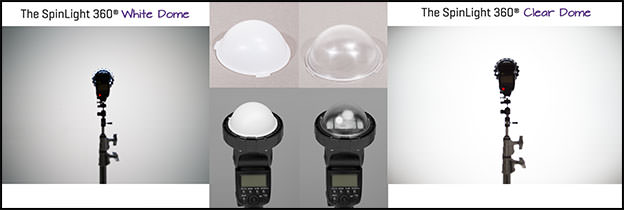
The Full White Dome vs. The Clear Dome
The main differences between the white dome and the clear dome (without bounce cards) are:
- The white dome will produce softer light than the clear dome.
- The white dome will block about 1-1.25 stops of the flash power.
- The clear dome will block about .25 stop of the flash power.
- The clear dome is more efficient than the white dome, requiring less flash power, which is beneficial when you need faster recycling speed.
- The white dome will attenuate the light from the center to the edges faster compared to the clear dome (see image below).
- The clear dome will evenly illuminate a larger area.
TIP: When shooting a large group where you need to spread the light as evenly and as widely as possible, we recommend using the clear dome, either with or without the white card, while tilting the flash slightly forward, not in the absolute straight-up position.

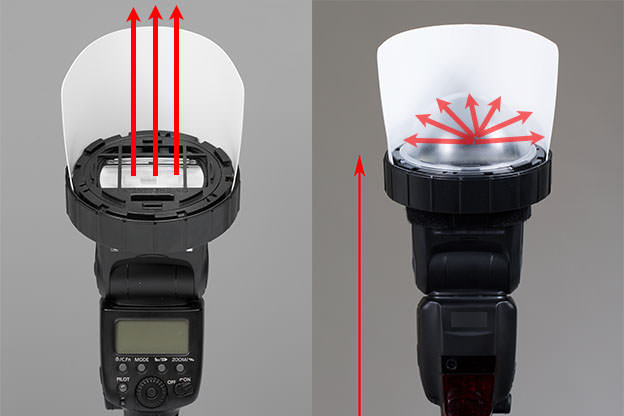
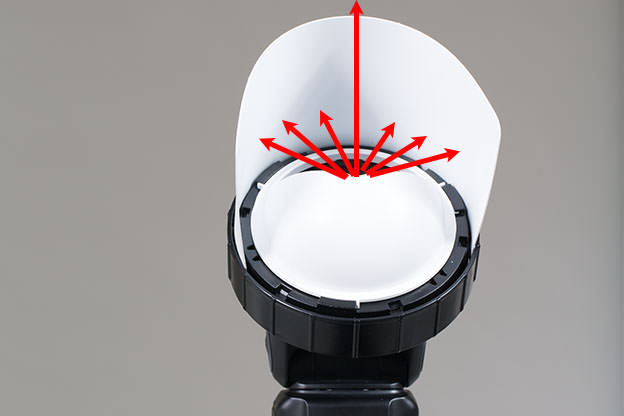
When you use the flash head in the upright position with the SpinLight 360® and just a white bounce card (no modifier), most of the flash light will go straight up. One of the advantages of the white and clear domes is that they spread the light as soon as it comes out of the flash tube onto the surface of the card, forcing more light to bounce against the card, which results in more light bouncing forward toward the subject.
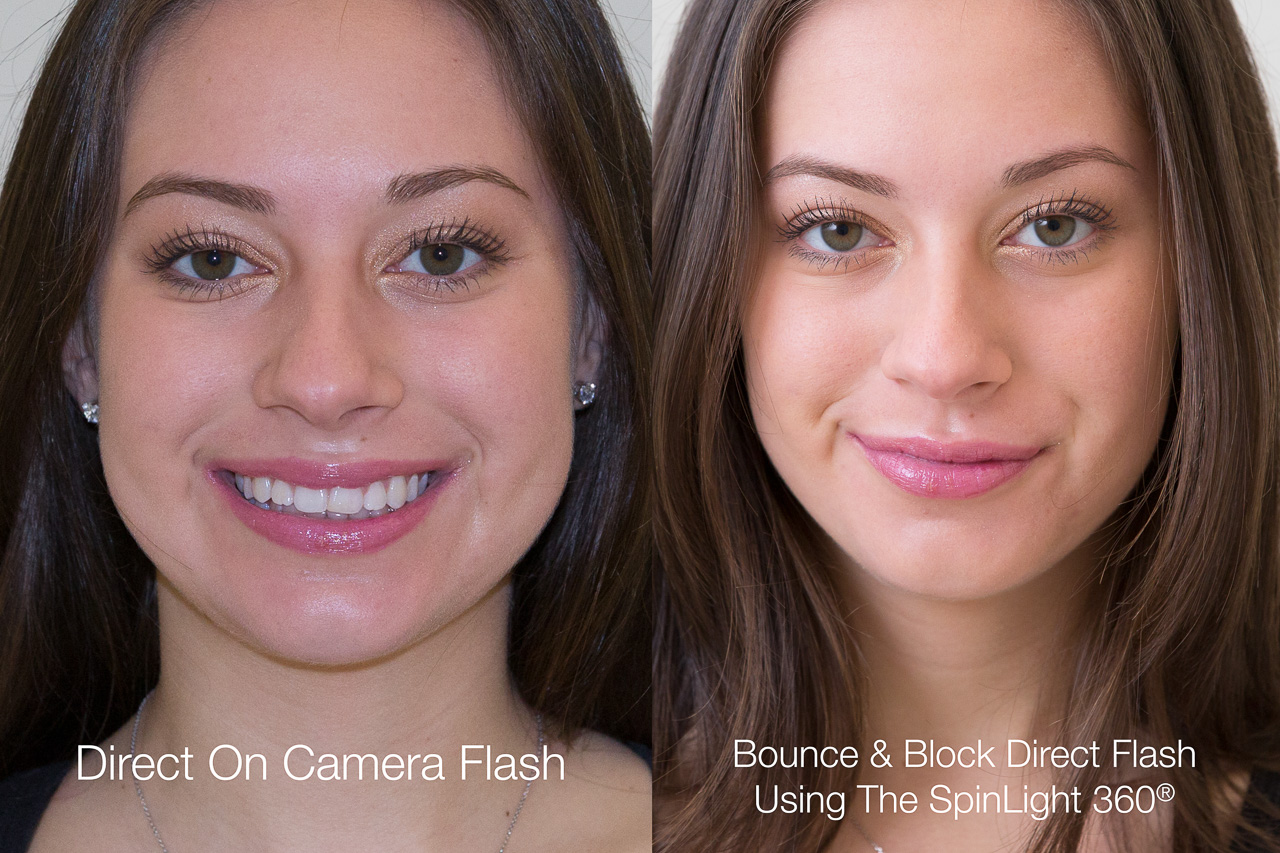
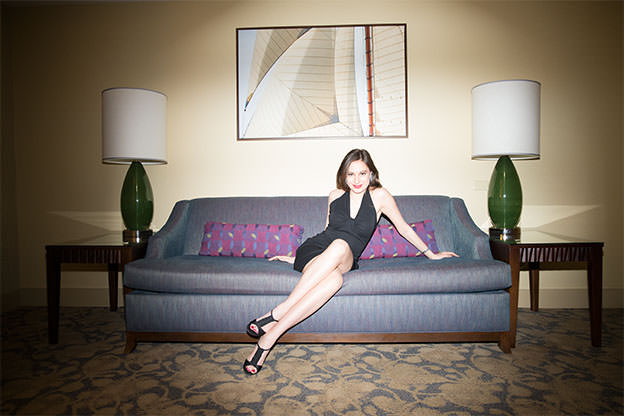
The image below was shot during the late afternoon, with a white card and the clear dome while the flash was in the upright position, at -1 flash compensation to enhance the skin tone and texture. This resulted in a beautiful image that looked naturally lit.

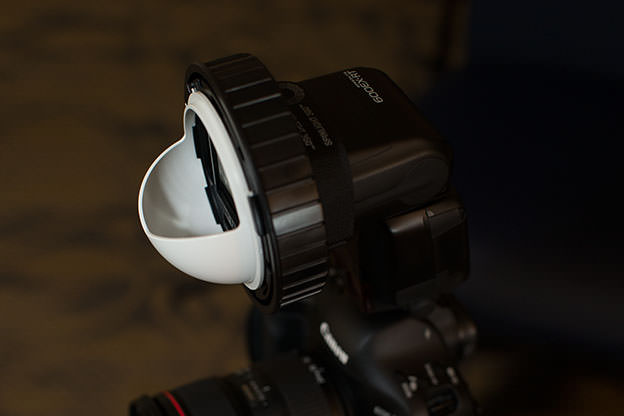
The Half Dome
The half-dome modifier is opaque so no direct flash will hit the subject. Aiming the opening of the half-dome toward the card will force the light to hit the card, as well as the ceiling, and bounce the light forward toward the subject. We recommend using the half-dome outside or when you are in a location with no place to bounce.
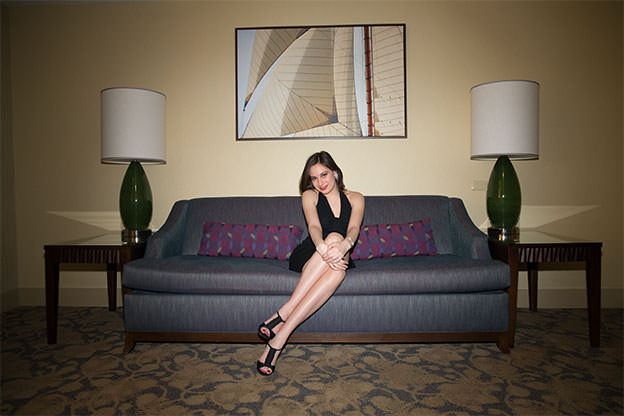
Another creative use of the half-dome is to rotate the opening of the half-dome toward the subject and use it as a gradual filter. Using it this way will allow light to hit the subject directly from the dome opening, and block the light from the remaining area, creating a vignette in the location where the opaque part of the dome sits. For instance, the half-dome was situated with the opening on top and the opaque part on the bottom, resulting in the vignette on the bottom as shown in the photo below.

The Snoot
When using the snoot it’s important to understand the light pattern that comes out and hits the subject. The shape of the light coming out of the snoot resembles more of a capsule shape than a circular one. The orientation of the flash towards the subject will dictate the shape’s direction as demonstrated in the images below.

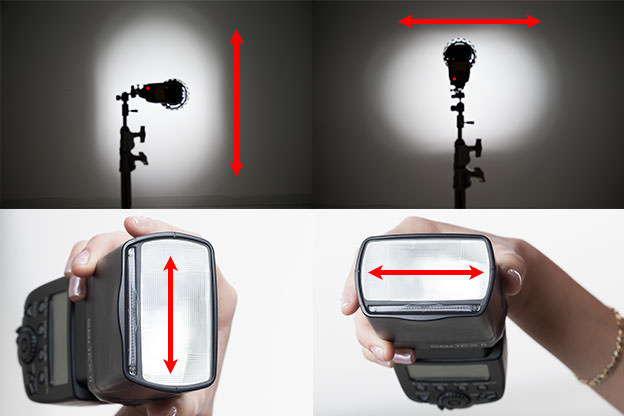
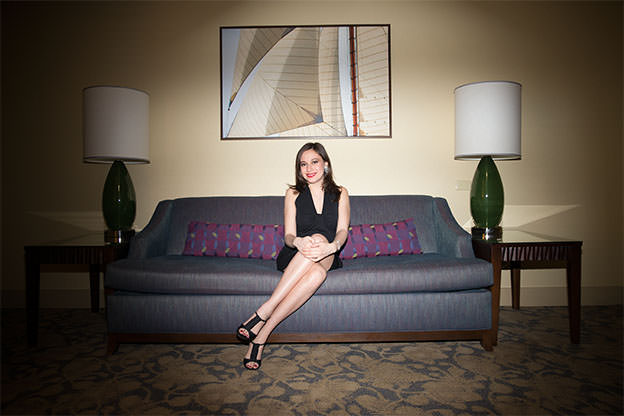
This image was shot with the snoot and the flash opening pointed horizontally towards the subject. As you can see in the image below, the light shape is horizontally elongated. Another creative use of the snoot is to use it for accent lighting, strip lighting or side lighting for a portrait, mimicking a long narrow light source.

The Grids
As you see in the image below the differences between the Black and White Grids are that the white grid has softer, feathered edges, while the black grid has harder edges, and the white grid loses about 1 stop of light compared to the black grid.
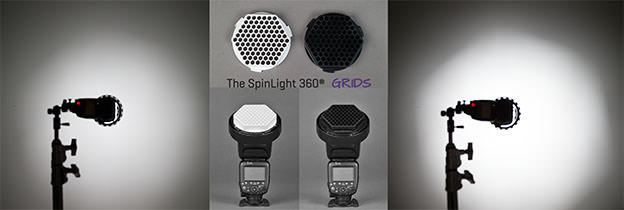
Here are some examples of photos shot with white and black grids. The first image was taken with the white grid. As you can see, the light attenuates from the center to the edges gradually.
This image was shot with the black grid at the same setting as the previous image, without compensating for the additional stop of power. As you can see in the image below, it’s overexposed by 1 stop.
This image was shot with the black grid. As you can see, the light attenuates more harshly towards the edges, creating more of a distinctive vignette.
We recommend using the grids for a hairlight or if you want to call attention to the center of your image.